How to Import OST File into Office 365 (Exchange Online)


Summary – Storing of Exchange Mailbox data on the Cloud platform like Office 365 (Exchange Online) has many benefits. So, here are the complete steps to resolve how to import OST file into Office 365 account. Read this article to perform the import process in a quick and secure way.
We know that Exchange Server is the most renowned mail server developed by Microsoft. It helps to save the Microsoft Outlook data in OST file format. While working in the Offline mode the Microsoft Outlook email application allows the users to create a replica of their Exchange mailbox in the OST (offline storage table) file format.
The OST files are the exact copy of your mailbox stored on the Exchange server. It allows the user to access the data in offline mode and synchronize it with the Exchange server when it is connected.
But, now these days due to the latest technology of Office 365 people want to transfer OST files to Office 365 cloud. We can understand with the help of users’ problems while importing .ost files into Outlook 365.
Also Read:- How to backup my emails to an external hard drive
Import OST to Office 365 – User’s Query
“Hello to all! I have multiple OST file mailboxes and I want to migrate OST mailbox items to a cloud-based Office 365 account without losing any metadata of the OST mailbox. Please suggest to me a quick and reliable solution for how to import an OST file into Outlook 365 accounts. I would like to say thank you! In advance”
Are you Office 365 account user? And you also want to export your OST file mailboxes to an Office 365 account? If yes, then this article is for you. Having your Exchange mailbox data on the cloud-based platform has many benefits. Emails present in the Office 365 account can be easily accessible. It facilitates the user to move the data to a cloud-based platform like Microsoft Exchange Online.
In this article, we are going to discuss the manual and the automated solution to know how to import an ost file into outlook 365. The manual process to perform this process is not much easy as we think about it. So to perform this process users can easily opt for automated solutions.
Also Read:- Export OST file from exchange server
Steps to Import OST File into Office 365 Account
In order to perform this task user has to follow the two steps which are:
Step 1: – First, the user has to Convert the OST file.
Step 2: – The user has to import the step 1 resultant file to Outlook 365 account.
Step 1: Export OST File into Outlook PST File Format
It can be done by the manual method or by using automatic software. Select one which best suits you:
Manual Method to Import an OST File into Outlook 365
- Launch the Microsoft Outlook application then go to the Export option from the File tab
- Choose the Export to a file option then, click on Next
- Choose the option (PST) and then the user has to click Next
- Select the folders that the user wants to export (also the user can check the box to include sub-folders)
- Now give the location to save the exported file
- At last, just click the finish button to complete the process
Note: The user has to note down that this method only works when the user account is connected to the Microsoft Exchange server.
Note:- Export Imap to pst Outlook
Add OST File to Outlook 365 With Automated Solution
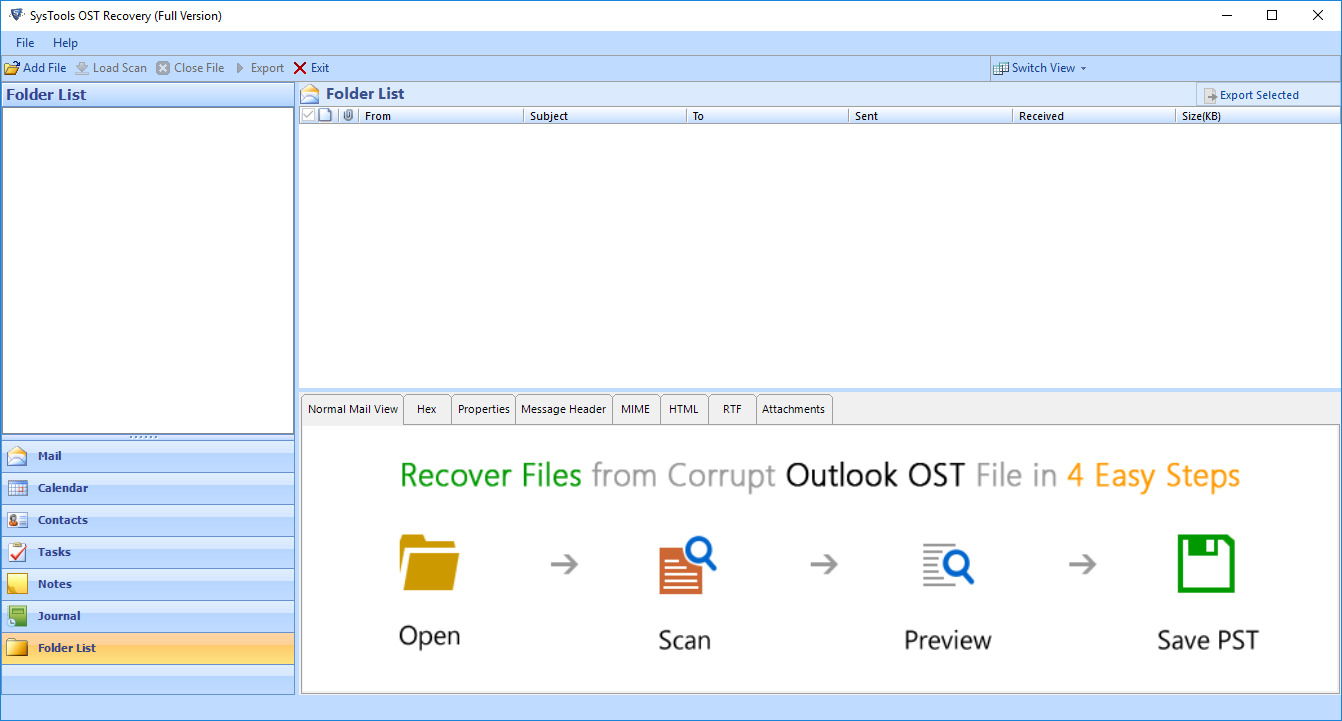
To perform this process the user can opt for a safe and reliable solution and download the Professional OST Recovery software. Its tool recovers corrupted OST files as well as helps to import OST files to Outlook 365 with ease in a few clicks. It allows users to move emails, calendars, and tasks, to Office 365 accounts easily. Moreover, this tool gives a simple and easy-to-use interface. so that everyone can easily use this software with ease. It allows the user to import the PST file to Microsoft Office 365 account along with entire Outlook data items. It also ensures no data loss and maintains the folder structure in the resultant file. Use this utility instead of using the hectic manual method.
Working Steps to Impost OST File into Office 365
- launch the OST to Office 365 tool and press add file button to choose the OST file to be imported to Office 365
- Hit on Office 365 radio button to import OST file to Office 365 and enter the location for transfering the OST file and hit on next button
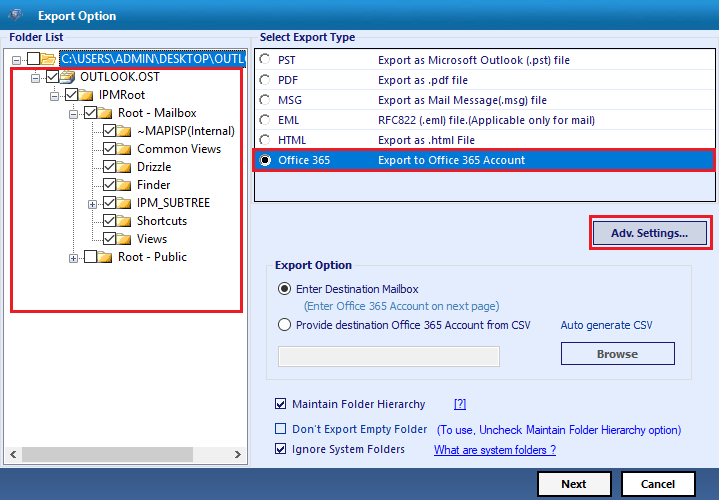
- Then dialog box displays, enter the sign in informations Office 365 credentials to validate your O365 account and click on export button.
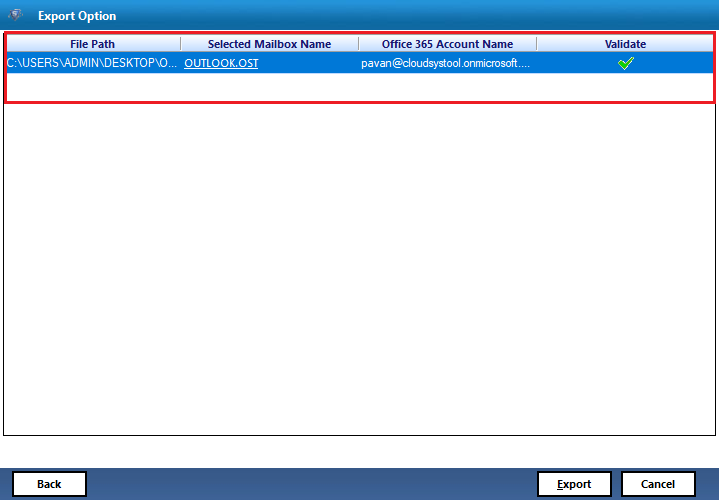
- Wait for the procedure to complete and open OST to Office 365 account

Import OST into Office 365 Manually – Limitations
Here are the shortcomings of this process. The user must to all the limitations before adopting this manual method. The above-described manual method is very lengthy and time-consuming.
The user must require strong technical skills to perform this process. There are chances of Outlook data file corruption or deletion. So it is better to opt for a safe and reliable way to solve the issue of how to import OST to an Office 365 account. You can also import PST file to Office 365.
Time To Conclude
Transferring the OST file data to the O365 account is a challenging task. So to overcome the challenges faced by the users. We have explained the procedure of how to import OST files into an Office 365 account by giving both the manual as well as the automated solution.
The manual process to import OST files to Office 365 accounts is difficult and sometimes the user has to face data loss situations. So, it is better to opt for the automated solution to resolve the issue.
