Import Windows Live Mail to Zimbra Manually


Nowadays, email clients have become the most common means for purpose of cross-interaction and exchange of crucial information. It brings forth a wide range of functionality for its end users making it simple to access the email data. Apart from that, Windows Live Mail is basically an update of the older version of Outlook Express & Windows Mail with some useful features added to it.

But, as per the demand, sometimes users want to switch from one platform to another. One of the most emerging queries is to import Windows Live Mail to Zimbra. This is a challenging task for every user, therefore, not easy to execute. Therefore, it will not be tough from now onwards as in the forthcoming section of this article, we will learn a manual approach to import emails from Windows live mail to Zimbra.
Import Windows Live Mail to Zimbra
There is no direct method to migrate from Windows live mail to Zimbra. Because WLM is supported EML data file and Zimbra saves its data into TGZ file format. So, it only imports the TGZ data file format.
The user can import Windows live mail mailbox using Gmail. Because the Gmail provides an option to export complete gmail mailbox data into .tgz file format. After considering the EML file into Gmail there is an option such as Google Takeout which, helps to export data into TGZ format.
Moreover, it becomes easy when you completely export EML data file to TGZ using Gmail after that, you just need to import that resultant .tgz data file to Zimbra. Therefore, simply follow all the given steps in sequence to get a positive outcome:
Step 1: Transfer Windows Live Mail Mailbox to Gmail
- First, you have to configure Gmail in Windows live mail.
- You have to make sure to use the Gmail IMAP settings when generating the account.
- Here, start the email account that has the mails you need to transfer to Gmail account.
- Choose any mail messages you need to copy to Gmail.
- Afterward, with pressing on the “Ctrl” key then, drag the bunch of highlighted messages to a folder in your Gmail.
Note: It is highly recommended to keep sending emails in the exact folder in Gmail to ignore confusion later on. If you need to copy sent mails to Gmail, choose the mails in Sent from Windows live mail and copy them into Sent in Gmail. It is the first steps in the term to import Windows live mail to Zimbra.
Step 2: Export Gmail mailbox to TGZ Format Using Google Takeout
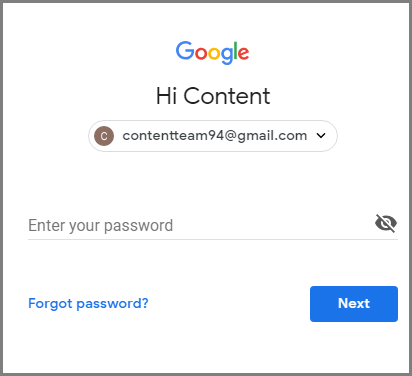
- First, you have to log-in Google account by using your credentials.
- Now, you can choose data that you need to contain in the takeout file. This is not just for mails in Gmail account, but also includes data from other Google services. Like: chrome, Google plus, Blogger, contacts bookmarks, Calendar, contacts, drive, and so on. You can select as per your desire.
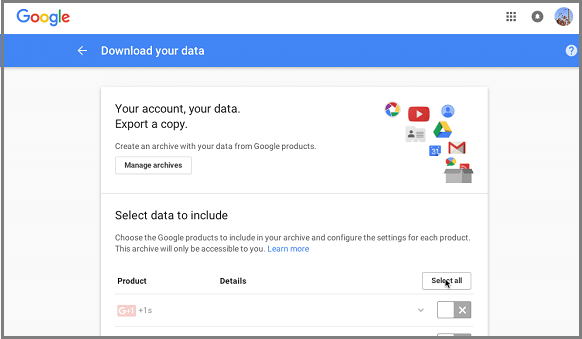
- Here, inside every category of Google services, there would be further options to opt. Such as, inside Gmail, you can select, whether you need the whole mail database or some specific folder.

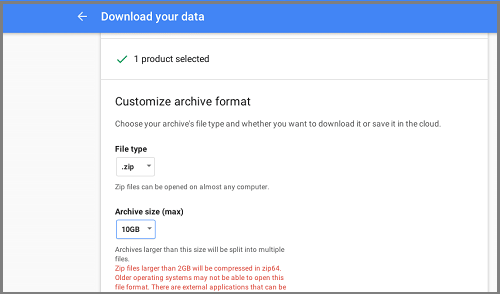
- Afterward, select the file type TGZ because Zimbra supports the .tgz format. This file called to the whole database that you have chosen in the steps above in a compressed folder format. In this compressed folder will be specific files applying to the Google services you opted to download.
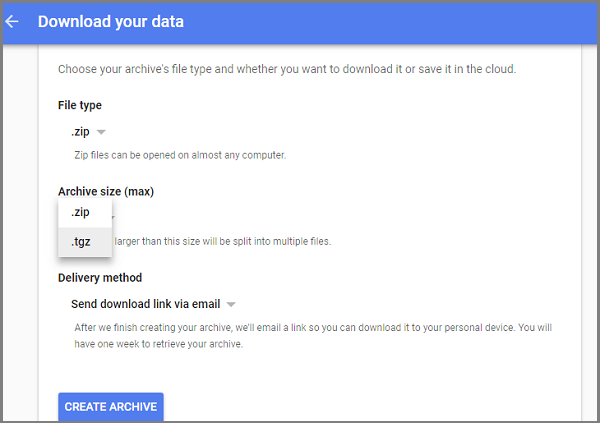
- Select the archive size the archives larger than this size will automatically split into various files. If yo are facing an issue to slow internet, so, you have to set this size small then, you do not have to download an extra large file.
- Hit on “Create Archive” to move forward.
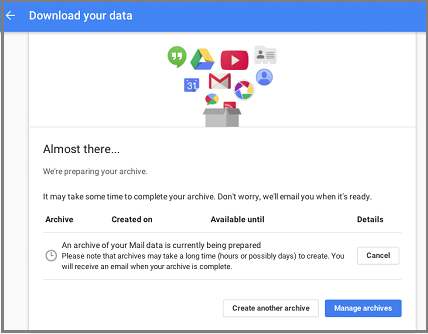
- It takes some time to generate the downloadable files for you by working in the background in its own servers. Google will send a notify message to you when the archiving procedure is being completed.
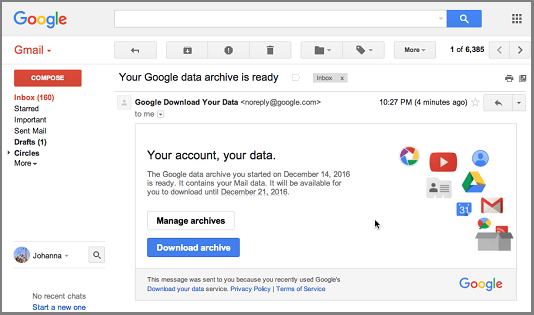
- At final, when you get the notification, download the TGZ compressed folder. After, that extract the folder into your machine.
Step 3: Import Resultant TGZ File to Zimbra Application
- Open Zimbra application to your local machine.
- Now, go to “Preferences” located at the top pane and then hit on “Import/Export” option spotted at left corner.
- Here, in the “Import” section, you have to browse to the .tgz file which one you need to import.
- Choose the desired folder or generate a new folder then click “OK”.
- Afterward, in “Resolve duplicates” field, check the suitable option for the account data to be imported.
- You can select any option from the following as per your requirement like ignoring, Modify, Replace and Reset.
- If you need to migrate particular types of data from the TGZ data file and check “Advanced Settings” to enlarge the view or choose the types of item to restore.
- Hit on “Import” button to begin the procedure.
Note: – After performing all these steps your entire data will be imported from Windows live mail to Zimbra mail application manually. The process is quite lengthy but helpful.
Final Words
Zimbra is the desktop-based email application that plays a significant role for professional purpose. It contains emailing, messaging, email collaboration and so on. Along with, we have discussed a reliable solution that helps to import Windows live mail to Zimbra mail client. As we all know, that there is no direct solution to perform the migration task. Thus, a user has to make sure that all the above-listed steps are followed in an appropriate manner to get the positive outcome. I hope now your query how to import Windows live mail to Zimbra application has been resolved. If you have any query feel free to contact.

