How to Access Disk Management in Windows 10, 8, 7


Overview
A feature built-in Windows 10, Windows 8, Windows 7, Windows XP and Windows Vista for creation, deletion and formatting partitions for managing hard disk is known as Disk Management. It enables users to perform most of the tasks linked with the disk, without restarting PCs and interfering user functioning. Now the question arises ‘How to access disk management in windows to manage hard drive?’ for managing hard drives in the machine.
Measures Available for accessing Disk Management
The procedure of accessing the disk management is different for various Windows Operating systems. The article comprises of the procedure related to the Windows, which have Windows 10, Windows 8, Windows XP, and Window Vista operating system. The article explains the user query “how do I access disk management in Windows”.
Accessing Disk Management in Windows 10
To access Disk Management tool in Windows 10, follow the below-mentioned measures:
- From the bottom left of desktop, Right-click on Start
- A menu with several options will appear in front of you. Among several options, select Disk Management option.
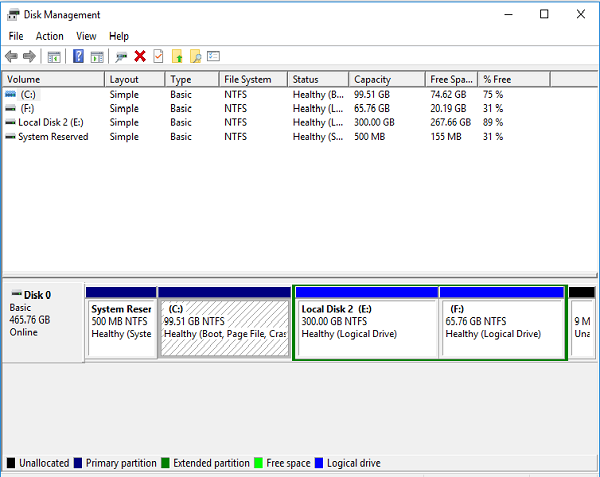
- A window named as Disk Management will appear in front of you, consisting of hard disk list that your system comprises.
Accessing Disk Management in Windows 8
Users having operating system Windows 8 will have to perform following steps:
- Take the cursor on the very left-hand side of your desktop, a Start box will display in front of you.
- Right-click on that box, a list will appear in front of you. In this list, click on Disk Management option
- A Disk Management window will display in front of you allowing users, to manage the hard disk of PCs.
Accessing Disk Management in Windows Vista / 7
Go through the following steps, for processing Disk Management in Windows Vista / 7.
- Right-click on Computer, from desktop or Start Menu of your PC
- After that, Click on Manage from the menu appearing in front of you
- A Computer Management window will display in front of you. From the left-pane of the Window, click on Disk Management option.
Accessing Disk Management in Windows XP
For gaining access to Disk Management in Window XP, go through the following steps:
- Right-click on My Computer, from the Start menu of your system
- A menu will appear in front of you. From that menu, Left-click on Manage option
- A Computer Management window will display in front of you. From the left-pane of the Window, click on Disk Management option
- A list of hard drives of your machine will be displayed on the right-pane of the window
Conclusion
Therefore, we conclude here with the fact that normal users can delete, create and format partitions without the help of technical expertise. It is a simple stepwise procedure to manage the disk of users’ machine. I hope that now, you can easily access disk management utility in windows.

